Alu-cab Canopy Camper Install
It was time. It was finally the weekend I made my way up to OK4WD in Stewartsville, NJ from our home in North Carolina. I had place the order for the Canopy Camper with Rin back in July, but this weekend in October was the only time our schedules lined up. Rin had generously agreed to donate his time on a Saturday morning to drop the camper on my truck, and for that, I am extremely grateful.
Preparing the Taco
Installing the Canopy Camper meant more than just removing everything that I had installed on the truck previously. I had to ensure that the suspension was able to handle the additional weight of a fully loaded, fast house where my rack and tent currently lived. A few weeks prior to the install, I reached out to Josh and Jillian at Apex Overland to get their take. They had done all of the suspension work on my truck up until that point, so I was confident that they would be able to advise. I had my own ideas, but Jillian made sure that I wasn’t being dumb and spending money on parts I didn’t need. Ultimately, she recommended that we upgrade my medium-duty Dobinsons leaf pack to a heavy-duty pack with their add-a-leaf, and supplement that with Firestone Air Bags, just in case. This would bring me up to about 750lbs of payload in the springs, and the bags would handle the additional weight of a fully kitted truck heading out into the woods. Thanks Jillian and Josh for the outstanding work, as always.
Next, I had to remove my current set up: a Victory 4x4 Roof Rack, a fully kitted Leitner Designs ACS Classic Rack with GearPods, the iKamper Skycamp 2.0, and the Overland Vehicle Systems 270 Nomadic Awning.
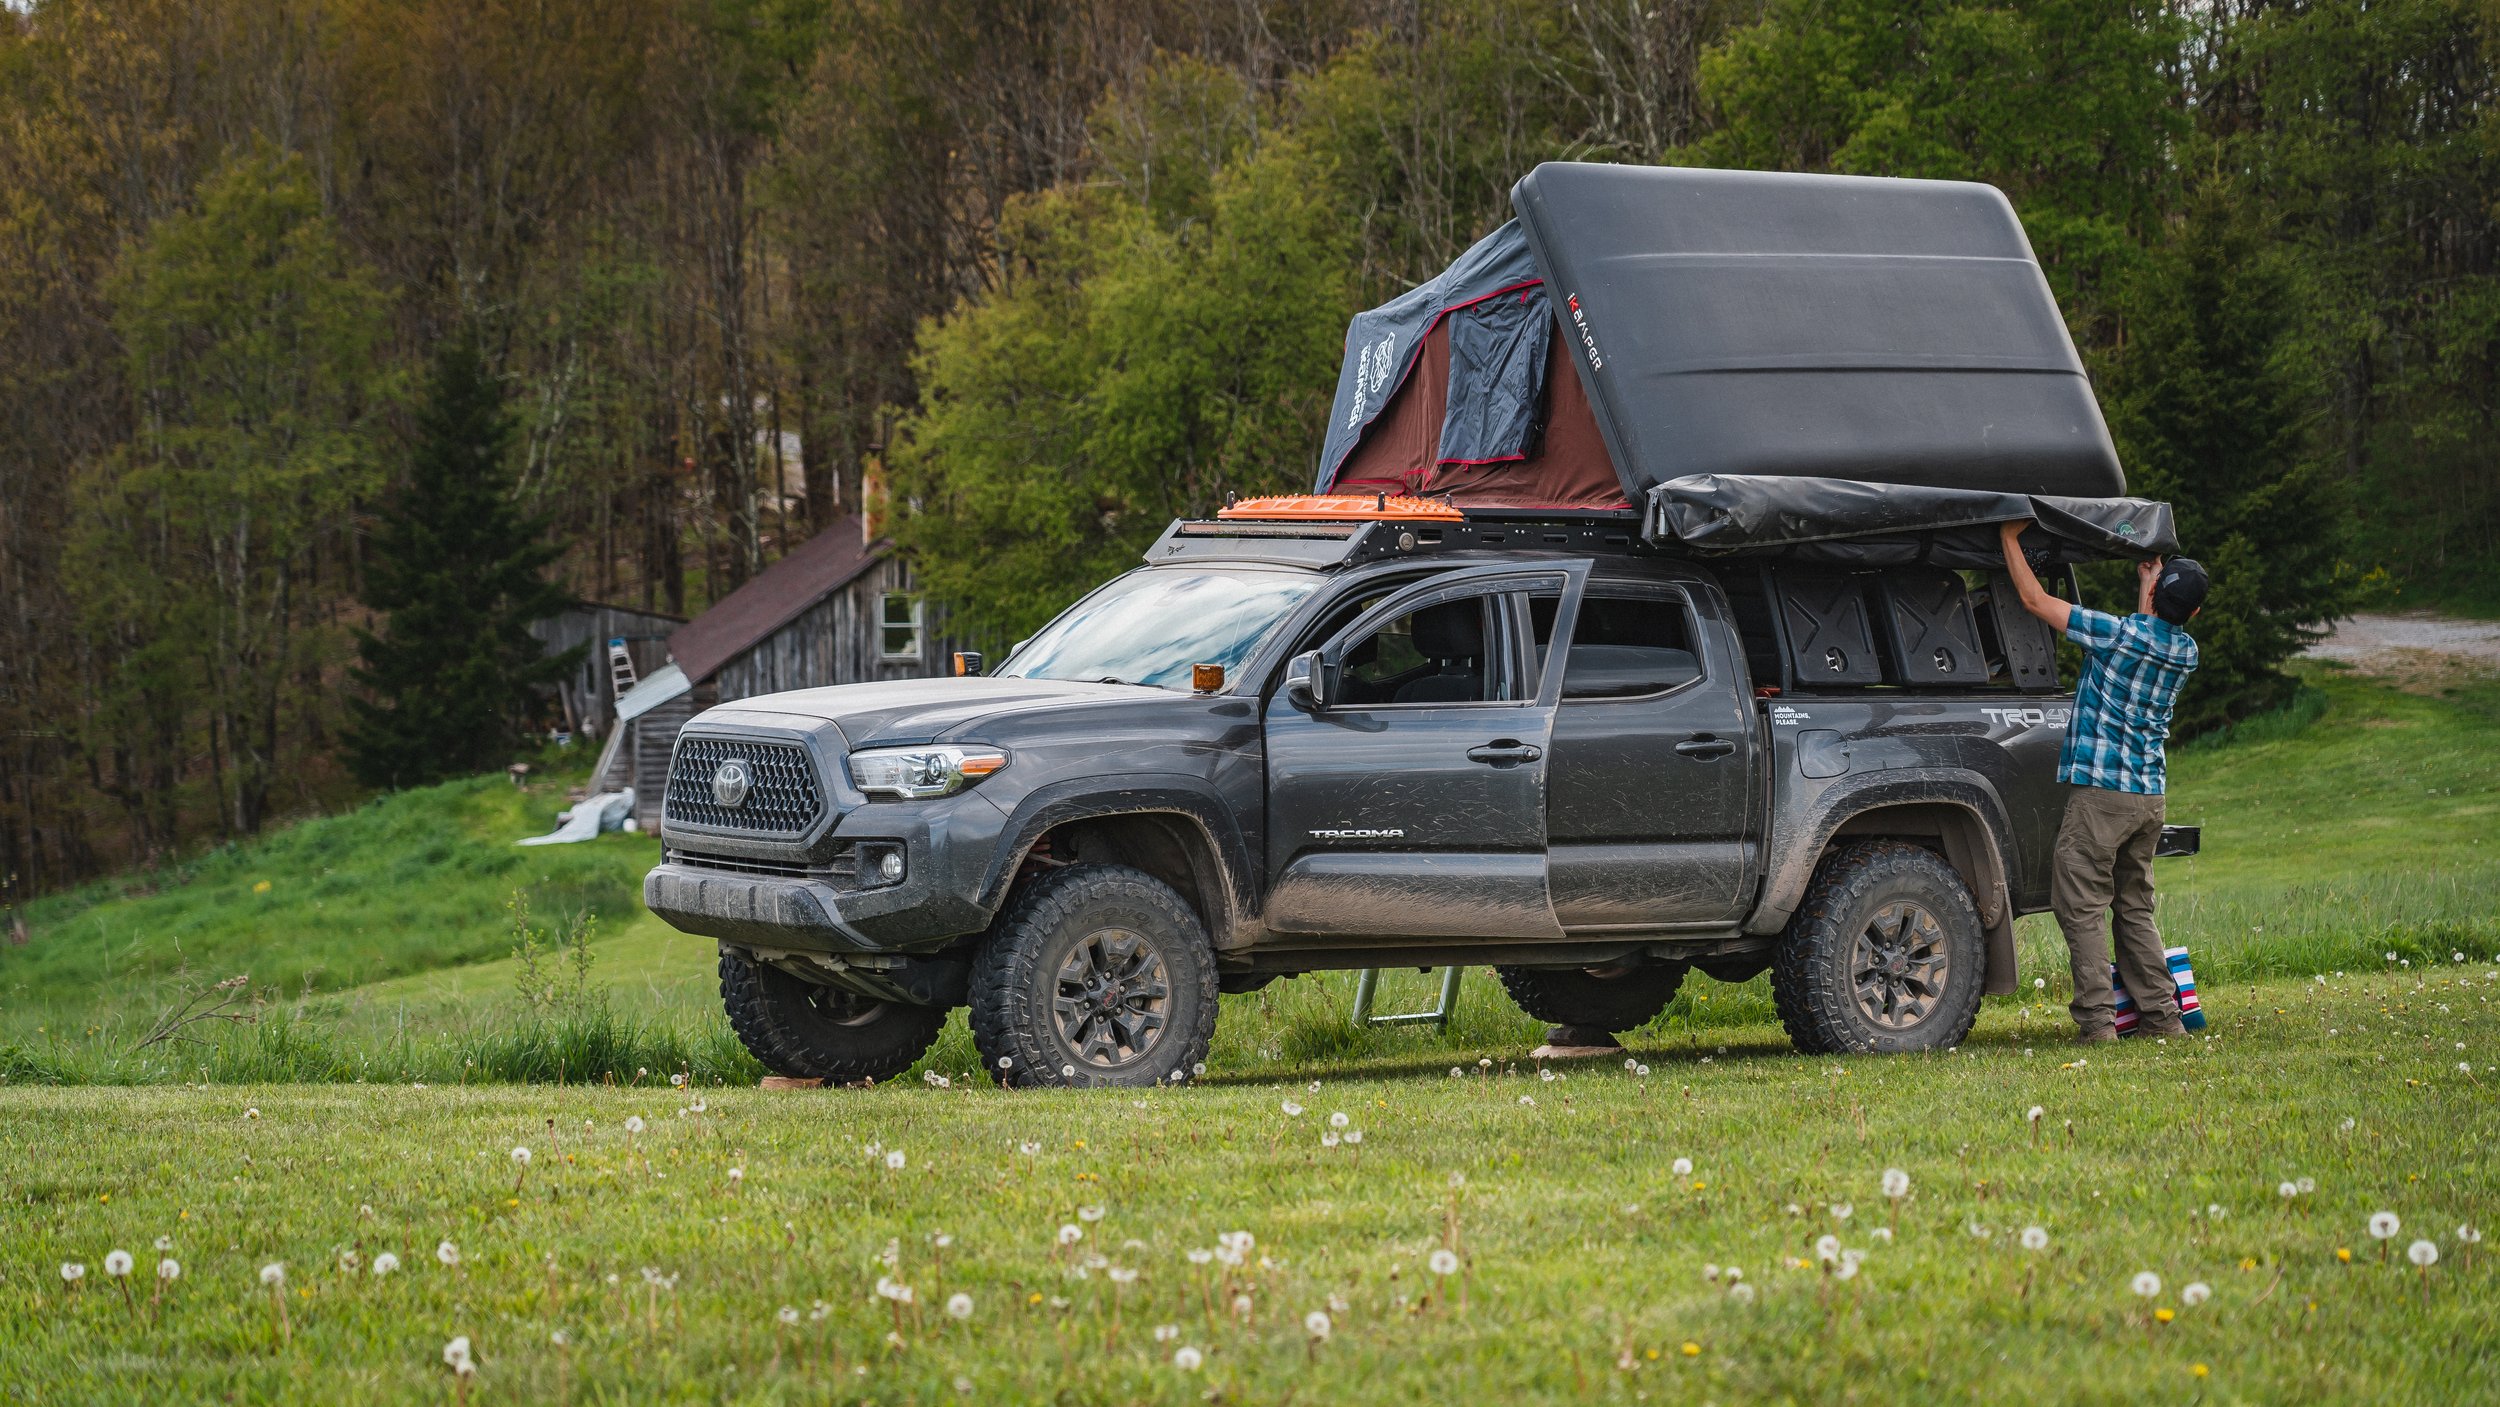
Setting up camp on MSO Discovery Route XVI at Experience Learning near Spruce Knob, West Virginia. Photo Credit: Alex Zappile
Why I Switched
All of these products served me well, through an entire season of guided trips with Mountain State Overland through the mountains and trails of West Virginia, North Carolina, and Western Virginia. They saw mud, rain, and heavy use in the elements, and we spent nearly 40 nights in the iKamper. I loved these products, and would recommend them to anyone, but they didn’t quite suit my needs or our style of travel.
My wife and I had decided on these products when it was just us, building our setup around a future family of four, hosting friends and family, and generally expecting to be able to provide for others. That’s why we ended up with the largest hard shell tent on the market, the largest awning, and lots of storage space.
After having used this set up for a while, we knew we wanted something a little different. We wanted to be warm, protected from the elements, and generally, be able to camp in all four seasons safely. We needed better mobility (e.g. wedge-style camper), and more covered storage space. The Alu-cab didn’t take much selling. After having used Jason’s for a season on the WE GUIDE trip series, it was the clear choice.
So, after returning from the last trip of the season, I went to work removing the accessories. I elected to keep the Victory Rack on the Tacoma. I was certain that it was not going to fit underneath the Canopy Camper’s overhang, especially with the slide-out table (I was right), but I didn’t want to modify it without knowing exactly how much space I had to work with. Looking back, I should have just removed it.

In the process of deconstructing the set up, I took pictures for posting later on Craigslist and Expedition Portal. This shot is with the iKamper removed. You can see that the rear suspension is quite tall with the removal of the weight of the tent and all of the gear removed from the Gear Pods.
Installing the Camper Body
The drive from North Carolina to New Jersey was nice, and it was quite fun to drive the truck without any weight in the bed for the first time in years. With the lift and larger tires, I was averaging about 16.5 MPG, which is about 2 MPG less than what I was getting when it was stock. I arrived in NJ Friday night, had an amazing blackened chicken sandwich with Rin at ____ and went to bed for an early, Saturday morning start.
The first thing we did was remove the roof rack and factory tailgate. I had the Pop-Lock tailgate lock installed, so we disconnected the wiring, removed the tailgate, and set it to the side. The first thing to be installed was the fitment kit for the Taco.
This was the first moment where I saw the genius of the Alu-cab’s modular design. The Canopy Camper body is the same for all mid-size trucks with 5ft beds, but there is a vehicle-specific fitment kit that allows the body to be installed on different makes and models of vehicles. Good design, and smart resource management. Also, these fitment kits can be easily replaced, so should I modify the panels too much, or switch to a different vehicle in the future (haha), I can simply purchase a new fitment kit for only a fraction of the cost of the camper.

In the OK4WD parking lot parked next to Rin’s rig installing the Canopy Camper fitment kit.
Rin’s rig was on full display in the OK4WD parking lot. The shop was starting to ramp up business for the day, and customers were stopping by to admire his perfected setup, including all of the little prototypes and experiments in various stages of product development. He did an excellent job managing what I needed from the install and answering the various customer questions, mostly about the GP Factor prototype window. While I wrapped up the fitment kit install, he was busy laying butyl tape around the bed. I learned that this was commonly used to secure auto glass to the frames for windshields and rear glass and would help create a waterproof seal around the top of the bed frame where the camper would ultimately sit.
Once the fitment kit and butyl tape were installed, I backed the truck up into the shop where he and Jon had prepped the camper the night before. It was on camper struts, which we had to raise even further since the suspension had the Taco on its tip-toes. Once the bed was lined up with the camper, we began the process of slowly lowering the camper onto the bed. We fastened the fitment kit to the camper and fastened the camper to the bed using the provided brackets and factory mounting points. I couldn’t have imagined trying to install this without the OK4WD’s tools and equipment. You’ll likely need a lot of strong friends, a hoist, or a forklift to to it safely and properly. Keep that in mind if you choose to self-install.
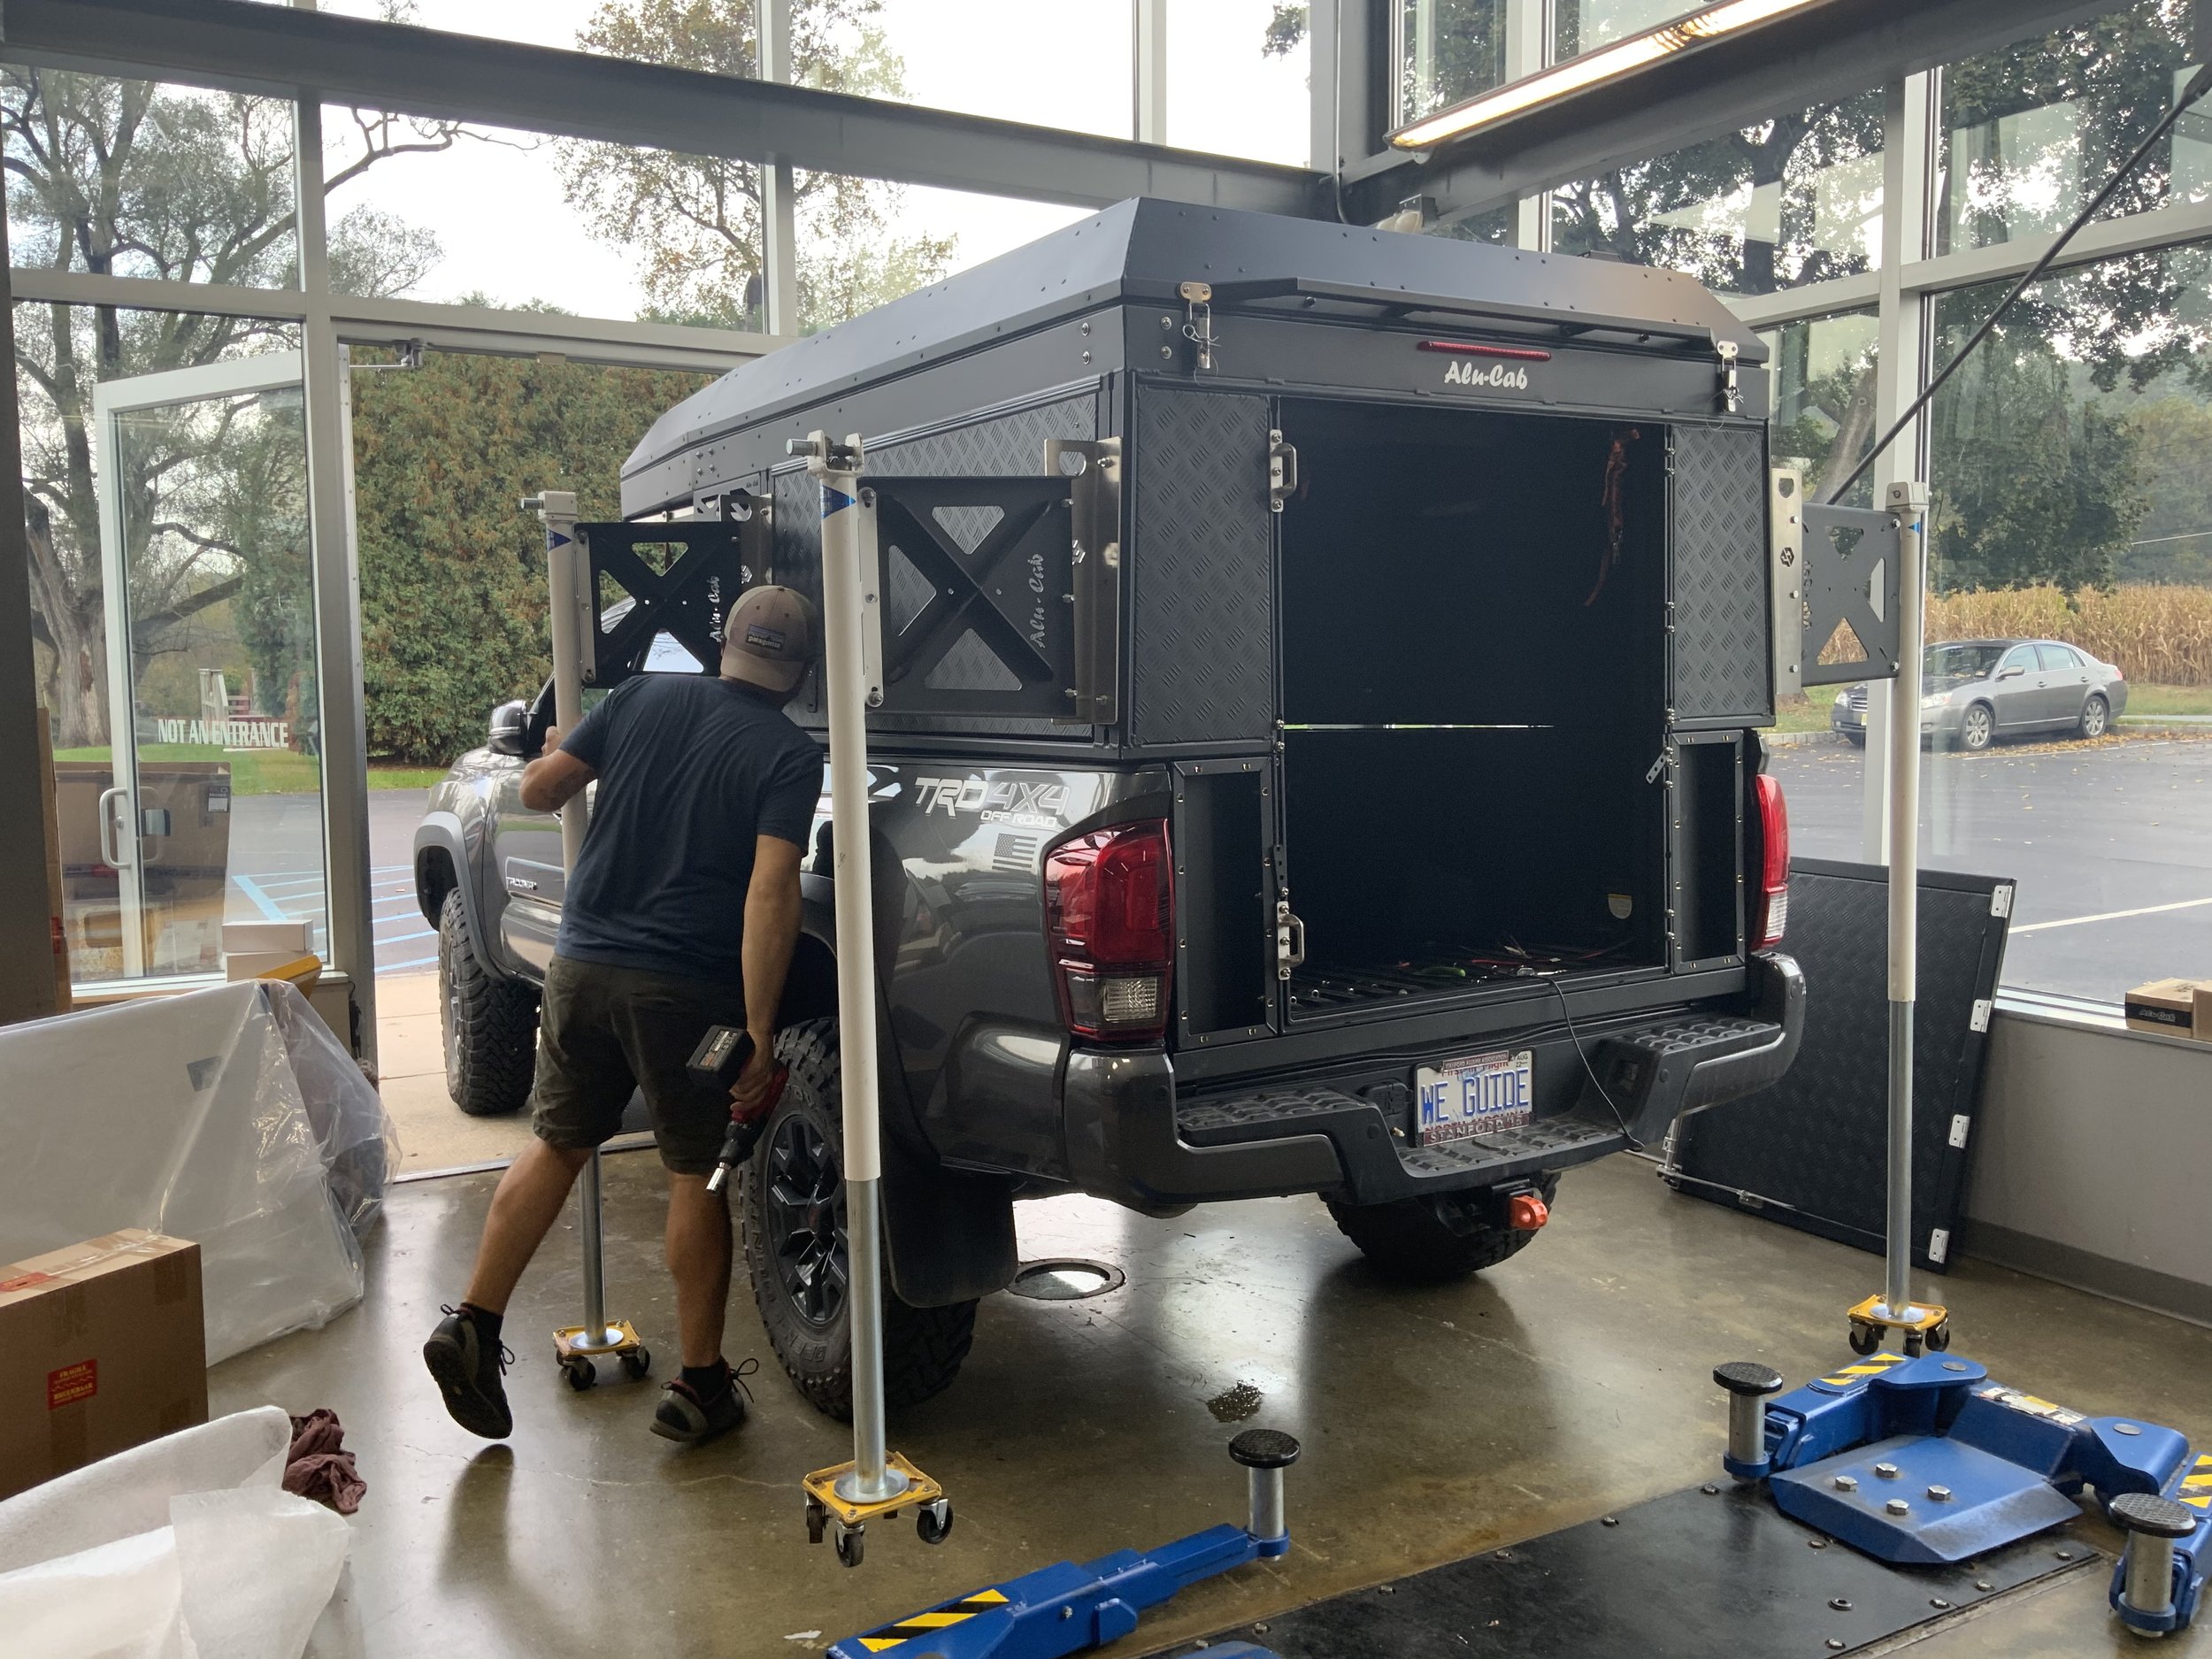
Aligning the camper with the butyl-topped bed and starting to lower the front after aligning the back
The next piece to be installed was the door frame and the door. At this point, I quickly learned about how awesome rivets are. Part of that was Rin’s fancy Milwaukee rivet gun, which pulled the rivets consistently, and without tiring us out. While we drilled out the rest of the rivet holes, I added the rivet gun to my wish list. Once the frame was secured, the rest of the door install went smoothly and the gas strut and limiting strap were installed.
Another huge benefit of the Canopy Camper is the fact that it is completely sealed from the elements, keeping water and dust out more effectively than other campers that maintain the factory tailgate. But, there’s still work involved to get it water-tight and dust-free. Thus, Rin introduced me to the Black Death, a.k.a. Sikaflex 221. This stuff doesn’t really come off if you get it on your skin. So, wear some latex gloves. With the camper mostly installed, we went around the rest of the frame and fitment kit with Sikaflex to close up gaps and seal the camper. Note: There are two larger holes toward the front of the Tacoma bed on the bulkhead closest to the top. Make sure you stuff those with butyl tape as well, else you’ll have water leaking in during heavy rain.
Installing the Table Slide
Next up, we installed the table and table slide. The Alu-cab tables are appealing because they’re large, stout, and store nicely in what would otherwise be wasted space. They are also supported by gas struts, which make deploying the table incredibly simple. I can slide the table out, give it a shake hard enough to dislodge the legs, and the gas struts take care of the rest. There’s no awkward fumbling with opening and locking legs. It just…works. As we were working, I noticed two key differences between this version of the table slide and the one I had seen on Jason and Rin’s rigs: the width and the latching mechanism.
On the new version, they extended the table slide to go across the width of the overhang. On previous versions, the slide stopped with the width of the table, so there was an awkward ~6 inches of overhang that didn’t match up with the slide. Cosmetic, but the details make the design. The latch also was different from the cotter-pin mechanism I had seen on the other rigs. This one held the table more securely and was lockable.
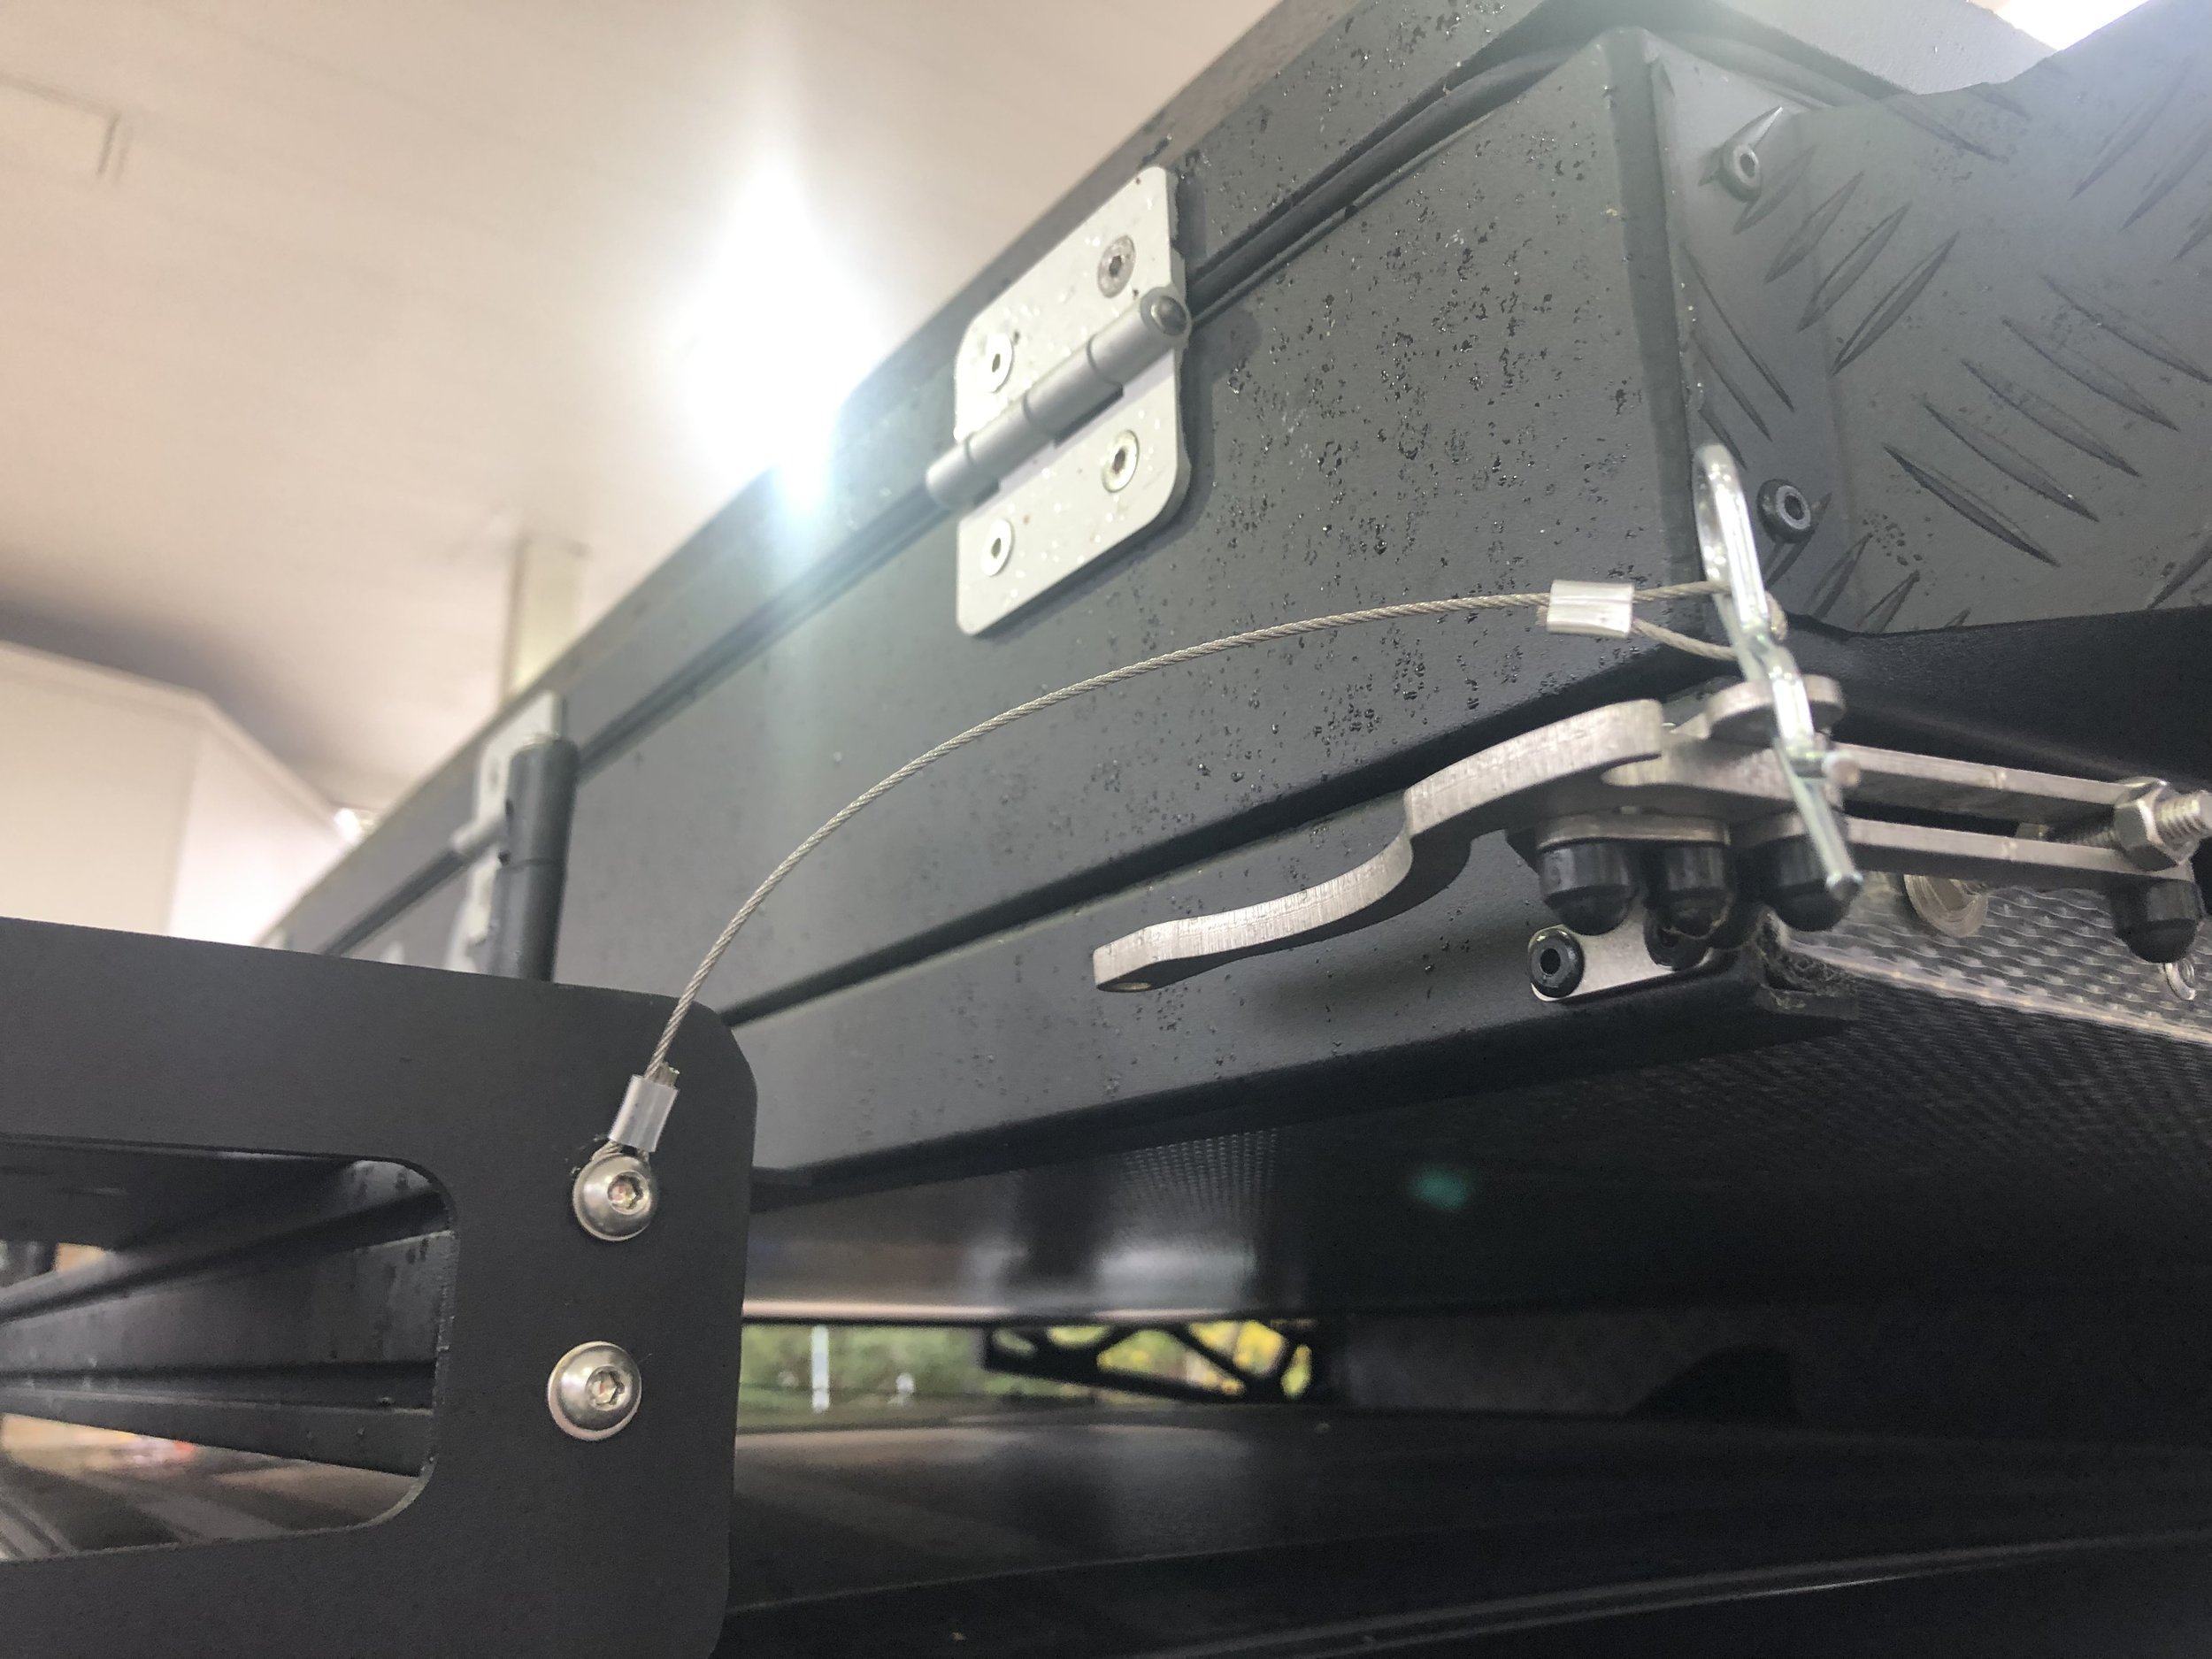
A close-up view of the new latch mechanism that holds the table in place. The cotter pin and leash were additions I made with parts from Ace Hardware and did not come with the table or slide.
We installed the table and table slide to the underside of the camper overhang (using more rivets) and once complete, we started prepping the awning, deflector, and tire carrier for install.

Canopy Camper installed with the door, before the gas strut and limiting strap were removed.
Mounting the Awning & Deflector
The Alu-cab Shadow Awning was the most difficult part of this install. It’s heavy, awkward, and needs to be held in place 7ft in the air while one person fastens the brackets from the outside and another fastens from the inside. The Canopy Camper comes pre-drilled for the awning brackets, so removing the M8 hardware was simple enough. That said, we had to seal these openings with more Sikaflex to keep the camper water and dust-free.
This is definitely a two-person job, and would likely be difficult to do by yourself, unless you installed the awning while the camper is still on the floor. We wrestled with holding the awning up in the air while we worked to get the first fasteners in place and avoiding the black death.
The awning deflector is similar, but attached with rivets. These require you to drill out the mounting holes, and don’t forget the Sikaflex.

A picture of the awning installed and deployed in the OK4WD shop.
Installing the Tire Carrier
The last thing we installed for the day was the tire carrier on the rear door. You’ll need an impact driver to pull the mounting studs through the carrier. We had to get creative and use the impact in combination with a small dead-blow hammer to get them completely pulled through. Once the tire was mounted, around 3pm in the afternoon, Rin and I said our goodbyes as he headed for the woods and I started the trek back down to North Carolina with the rest of the accessories in the back.
Thank you, Rin. For your time and expertise. I couldn’t help but take some pictures at the gas station on the way down.
