Installing the MOLLE Panels, Propane Mount, Camera Relocation, and Chopping the Victory 4x4 Roof Rack
The install went well up in New Jersey, but it would have taken much longer to mount the rest of the accessories. So, once I made it back home, I spent the next few days working on a few smaller projects.
MOLLE Panels and the Propane Mount
Propane is a key part of our set up, powering the eventual Dickinson cabin furnace and our stove. So, as I deconstructed our original setup, we chose to keep the Expedition Essentials Propane Mount and upgraded from a 5lb propane tank to an 11lb propane tank. This should give us about ten days worth of overnight heat, and also power our stove.
Despite the many different mounting locations on the Alu-cab MOLLE Panels, they did not align perfectly with the propane mount and I had to drill additional holes in the MOLLE panels to fasten it to. This was pretty painless. Most of the campers you see out in the wild have their propane hard-plumbed to the interior furnace, but at this point, I didn’t have the right LP connections, nor had I installed the furnace, so that would have to wait for another day. But, at least the propane tank was full. We completed the setup with an 11psi low pressure regulator hose and a splitter, which would allow for hookups to both the furnace and the stove at the same time.
Relocating the Backup Camera
On our last MSO trip of the year, Jason recommended that I look into the Rostra Precision Controls Camera Kits. After doing some research, I chose to simply reuse the factory backup camera and make it work until I was ready to commit to a full relocation, most likely to the top of the frame, above the door. But, I knew I wasn’t ready for that yet.
I started by removing the factory backup camera from the tailgate that was sitting in my garage. It was as simple as removing a couple screws and releasing two clips that held the wiring harness in place. There were three major components to the factory camera: the harness, the camera, and the plastic housing that mounted the camera to its factory location. I didn’t modify the harness or the camera, but removed the plastic housing.
Under the Canopy Camper, right behind the license plate on the Tacoma, there was a through-bolt holding the fitment kit to the bed. This was the hole you drilled during the install. That bolt protruded about 3 inches through the bottom of the bed and lined up almost perfectly with the hole that is used to lower the spare from the factory location. Since the spare was mounted on the door, I didn’t have any use for this slot, and I was confident that I could fabricate a bracket that would allow me to mount the camera to the bolt, just low enough to peek out of the factory spare slot.
Unfortunately, I didn’t document the process of modifying the housing, but I removed enough of the plastic with my dremel so that I had a flat mounting point. I drilled a hole through the flat part of the housing and fastened it to a small, 5-inch stainless steel bracket I made with spare metal. I used the cutoff wheel to score the bracket and bent it at about a 25-degree angle and drilled holes on either end.
On the end opposite of from where the camera was fastened to the bracket, I I repurposed the factory camera by removing it from the tailgate, modifying the plastic bracket that came with it, and fastening it to a small, 5in bracket bent at ~25 degrees. That bracket was then fastened to the through-bolt holding the CC fitment kit to the bed. The camera just pokes out of the hole where you insert the tool to lower the spare from the factory location.
The camera isn’t angled down toward the ground as much as it was when it was installed in the tailgate, so when I’m reversing, the lines on the screen in the cab aren’t super usable, but that’s not a big deal to me at this time. Admittedly, the solution isn’t pretty, but it restores my backup camera functionality well enough to reverse safely.

A shot from under the bed, looking up at the factory spare slot. You can see the old wires from my pop-lock tailgate lock that are no longer in use, and the camera fastened to the bracket, poking out through the hole just well enough to restore functionality.
Modifying and Installing the Victory 4x4 Roof Rack
If you read part one, you read that I had to remove the Victory 4x4 Roof Rack because it was too tall and would absolutely not fit between the top of the cab and the bottom of the camper overhang, especially since we had the slide out table secured in that location, which decreased the vertical space even more. Even so, the idea of having only a few centimeters between the camper and the rack didn’t sit well with me. I had visions of damaging one, or both, on the trail as the truck flexed and the rough road began taking its toll. So, once it was off at OK4WD, I knew that I was going to modify it.
The actual modification process was relatively simple. The rack was mounted in the factory roof rack locations: two in the front, and two in the back. With the rack completely disassembled, I took the sides of the rack and measured how much I would have to cut off. Using my mitre saw with a metal blade, I cut off the rear 65% of both sides of the rack, leaving me with just enough rack to secure to the front mounting points.
I drilled a couple of holes in the rear of what was left so that I could fasten one of the aluminum extrusion bars to the rack and give some added strength and mounting points. It fit the Victory accessory panels perfectly, and I was able to mount my GMRS antenna, light bar, and Maxtraxx to the rack as designed.
While I was planning this out, I was a little concerned that the front mounting brackets wouldn’t be strong enough to hold the weight of the accessories and still allow me to use the grab handles on the rack to pull myself up to the roof. But, once everything was mounted, it was solid. There’s no play or wiggle in the rack, and it doesn’t deflect when I grab it or fasten anything to it. Success!
Lastly, I rounded the corners using a cutoff wheel and painted the modified parts with textured black spray paint. If I didn’t know I modified it, I wouldn’t have been able to tell. It turned out pretty well and gave me about a foot and a half of usable space on the roof for additional storage.

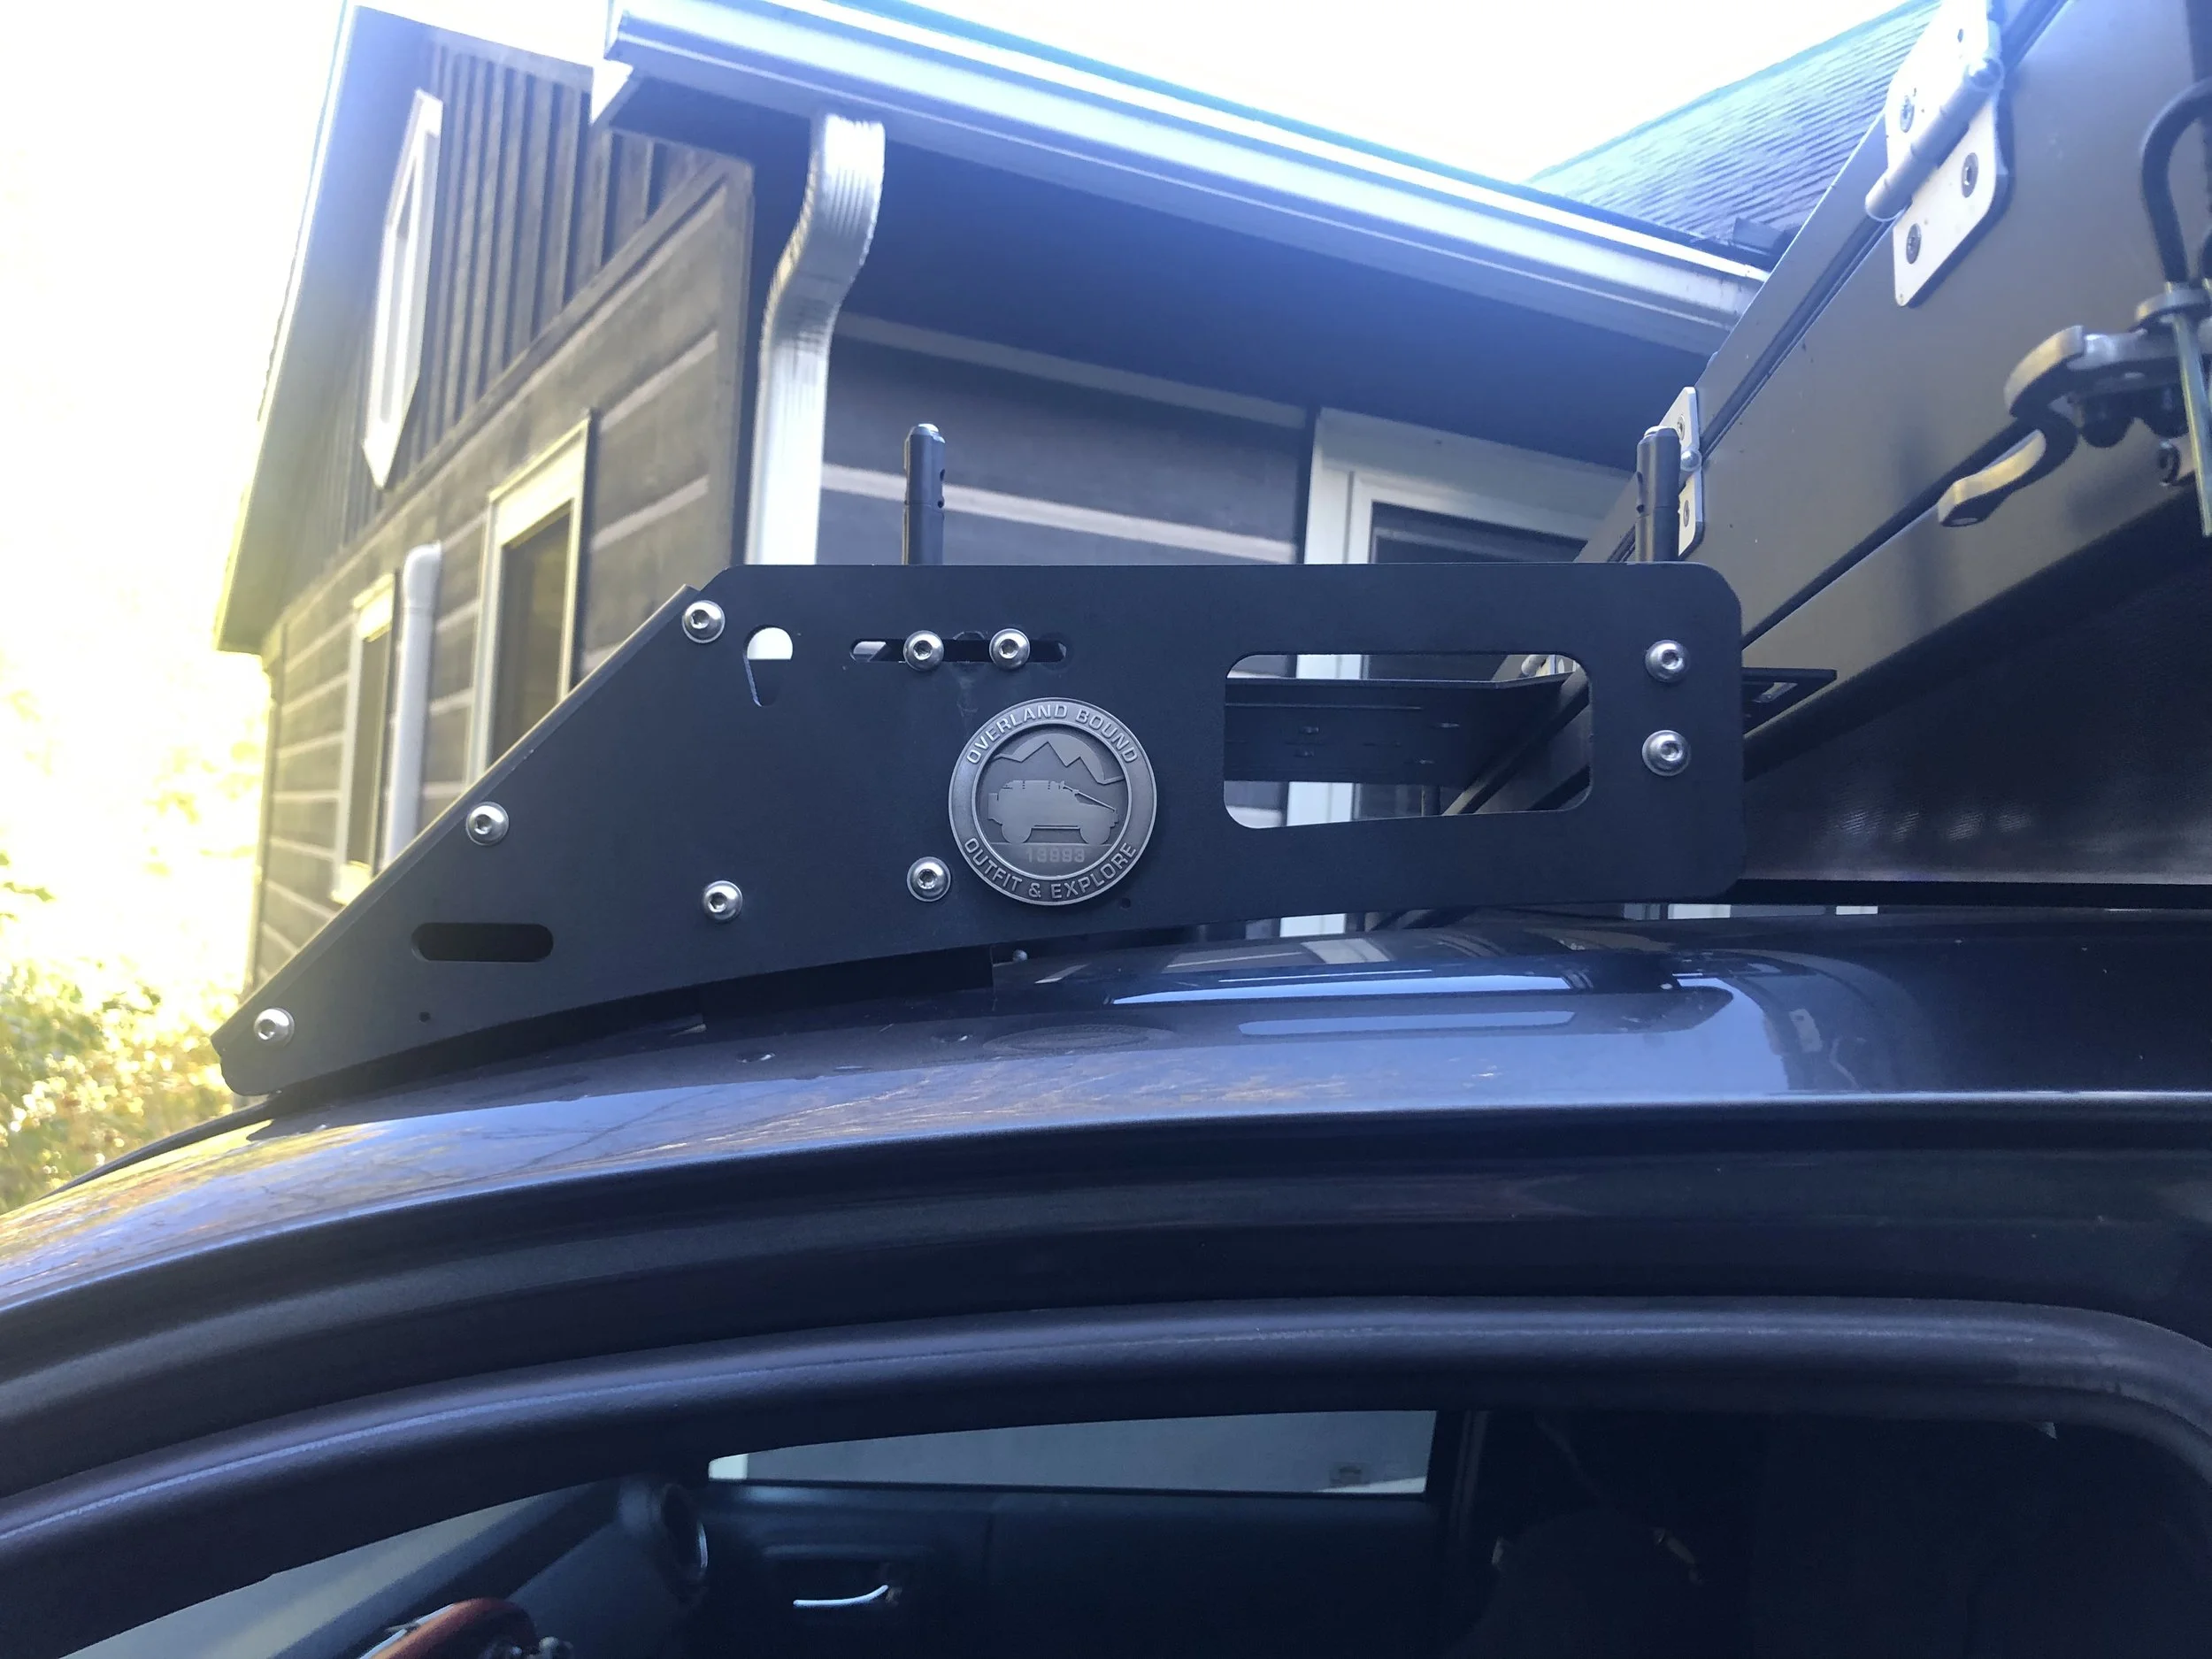
A close-up shot from the driver’s side where you can see the rounded edges and vertically-mounted aluminum extrusion to the rear. If you look through the grab handle, you can see the mounting plates where the Maxtraxx pins are mounted. When they’re mounted, there’s about two inches of clearance between the camper and the rack.

A shot from the passenger side of the vehicle where you can see the GMRS antenna mounted and a good shot of the Maxtraxx mounting pins. I will probably run the antenna cable up through the engine bay and up the B-pillar so that it doesn’t hang as much as seen in the picture.
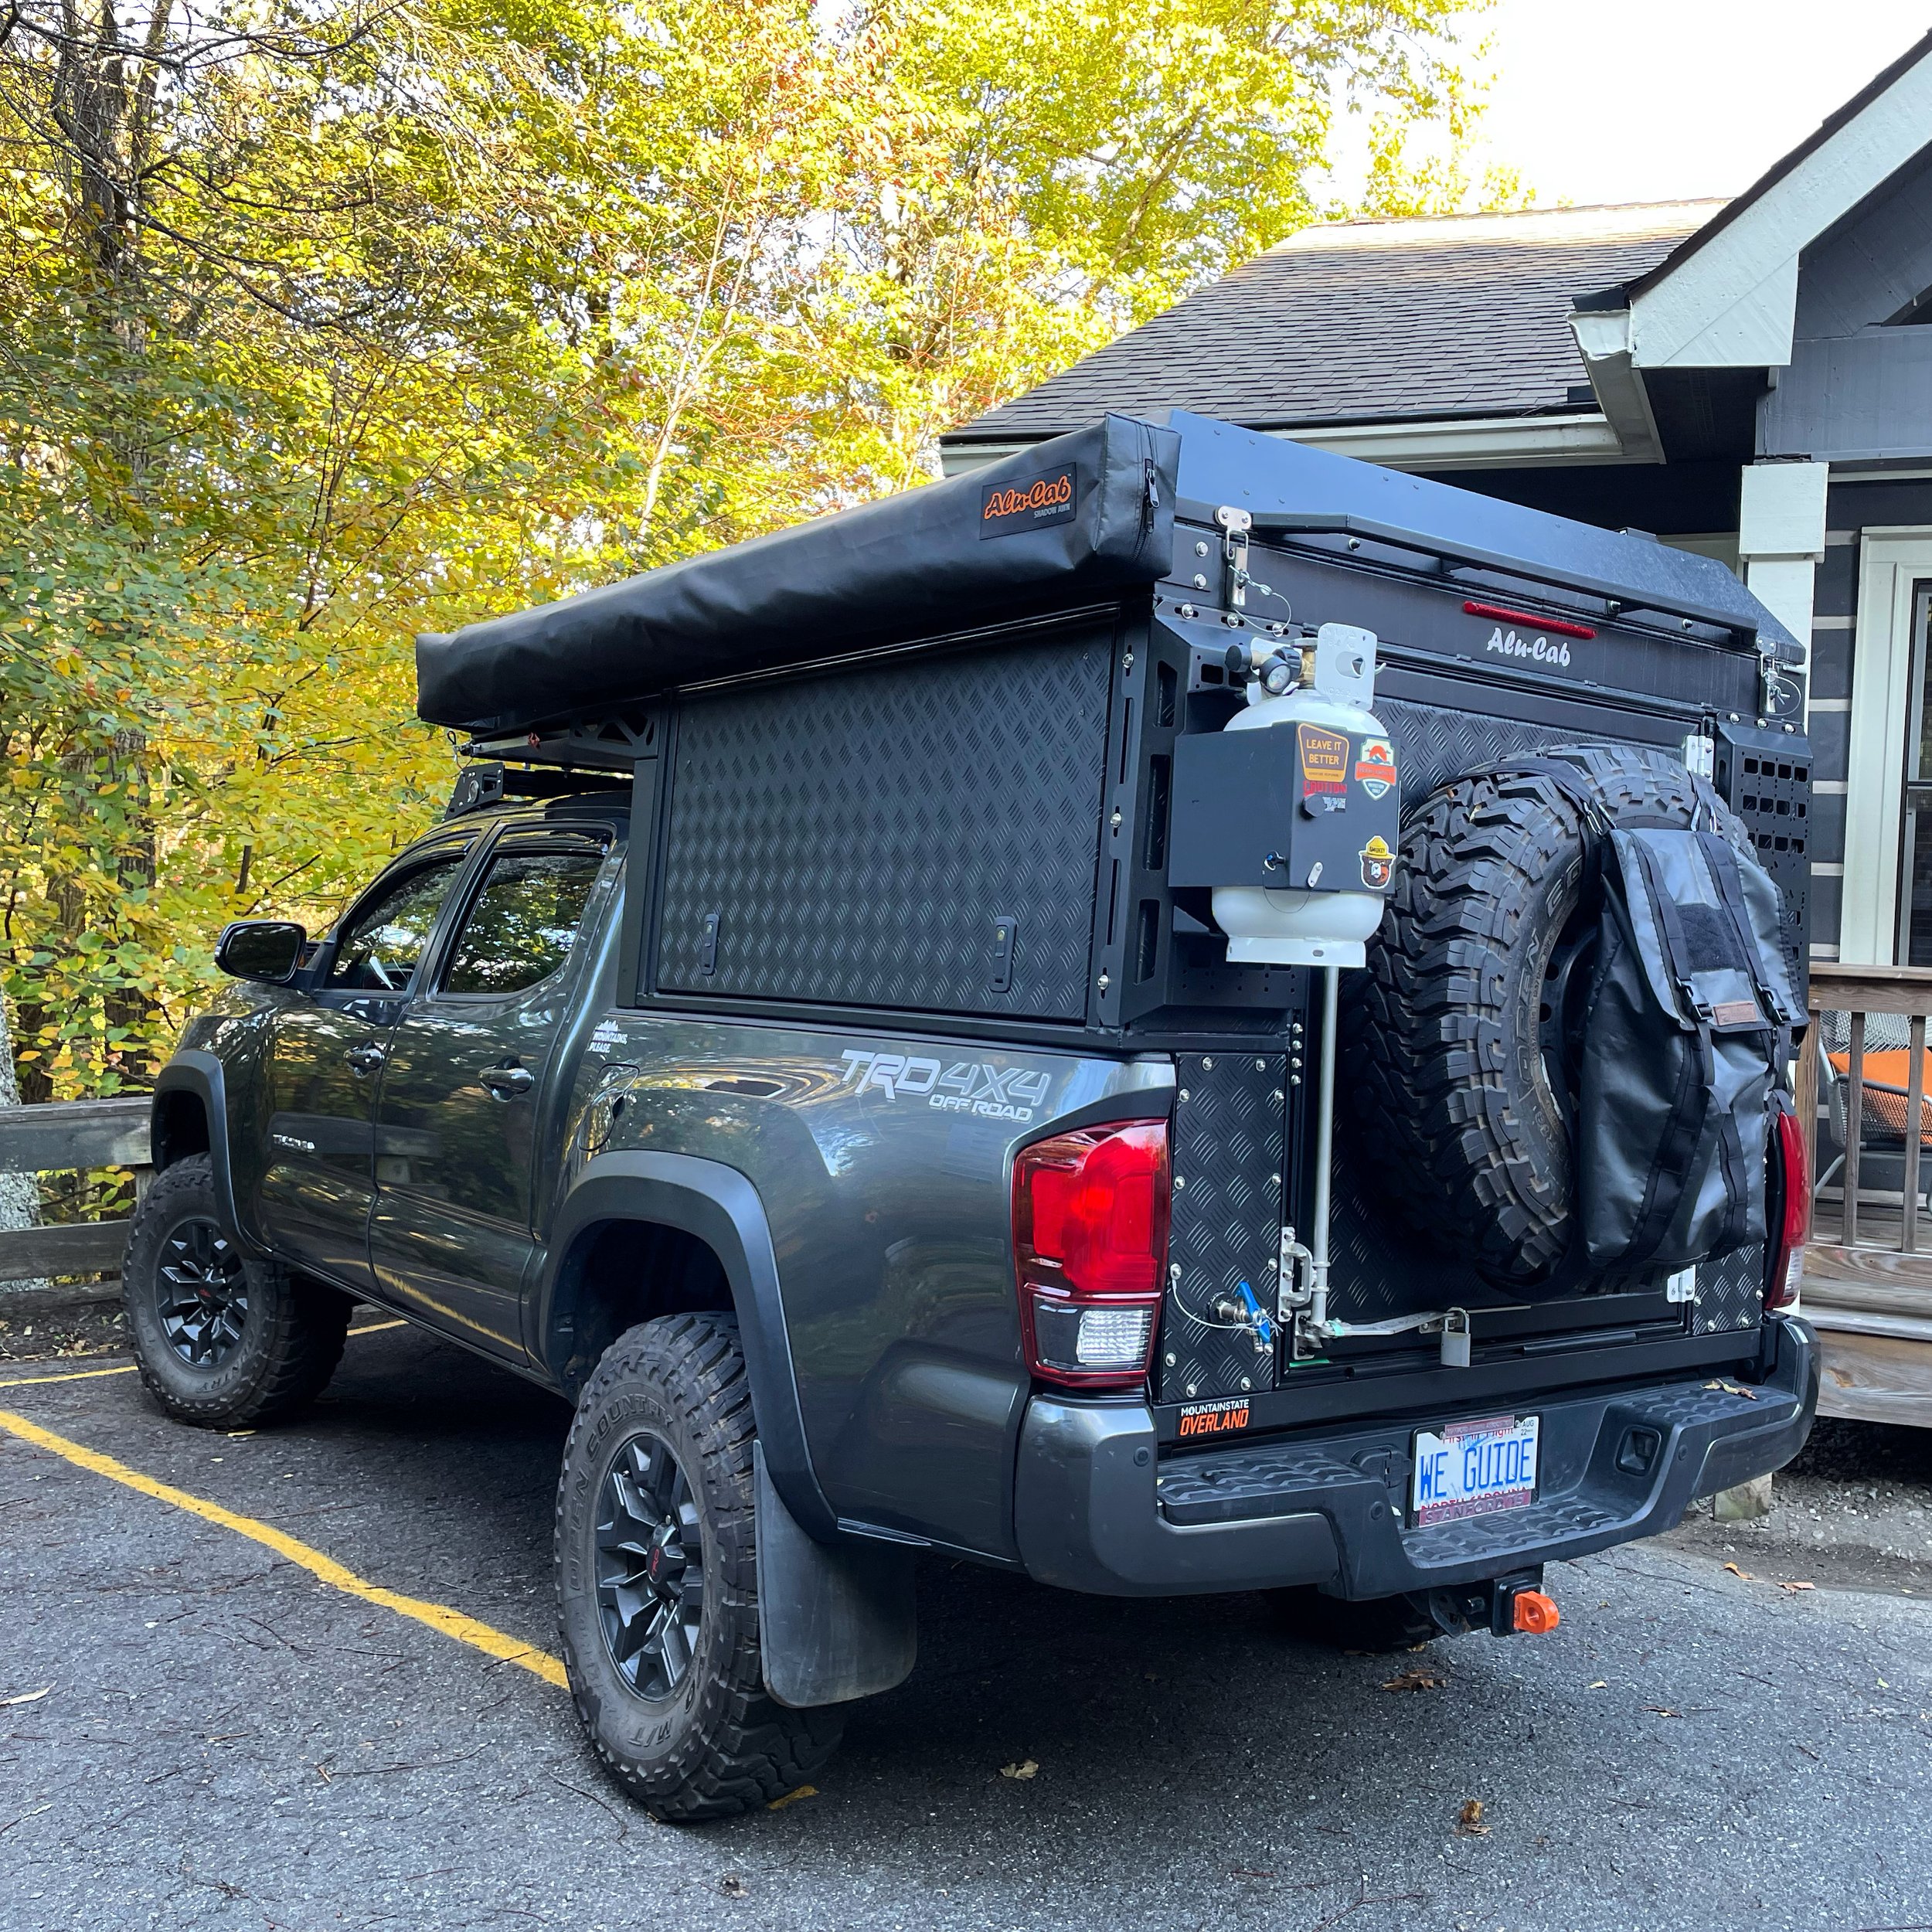
In Blowing Rock, NC where we spent an autumn weekend showing my parents around the area. The leaves were perfect.