Interior Comfort: Mattress, Carbon Monoxide Detector, Blue Ridge Overland Gear, and Insulation
Less than 36 hours after returning from New Jersey, I left North Carolina for Bedford, Virginia to meet up with the Blue Ridge Overland Gear crew to shoot a promo for their new Triple Run product line. I’m very excited for this new product line. The level of strength and customization is unparalleled. Check out the promo below.
The shoot went late into the night and I ended up staying my first night in the camper once we wrapped. The mattress was pretty firm, but otherwise was comfortable. It kept me warm and there was very little condensation after the cold autumn night in the hills of Virginia.
When I first ordered the camper, both Jason and Rin recommended that the first thing I do is put a new mattress in the camper. Most of the community goes with the Xped Duo, but I have seen these mattresses fail (not to mention they’re very pricey).
After spending night one in the camper, I ordered a 3-inch, queen-sized memory foam mattress and an electric carving knife from Amazon. The length of the mattress was a perfect fit, but I had to cut off about 8 inches of width from the mattress to get it to fit in the camper’s sleep platform. The electric carving knife cut the memory foam like butter and was quite satisfying. I must say, once installed, it completely transformed the sleeping experience. It was comparable to our bed at home and made my wife quite happy and comfortable, despite her bad back. For about $100 total for the topper and knife, it was a worthwhile investment.
I also installed a carbon monoxide detector on the underside of the sleeping platform using adhesive-backed Velcro. That was surrounded by several Blue Ridge Overland Gear Velcro-backed pouches that were loaded up with allergy meds, tums, band-aids, and other basic medicine-cabinet goodies. They stick to the Alu-cab’s carpet lining extremely well and don’t damage the carpet at all when removed.
Insulating the Camper
When the camper is first installed, it’s basically an aluminum box. We spent a couple nights in the hills of Virginia, near Charlottesville and it got cold. This setup was going to be our traveling platform, ready to take us anywhere in the world we wanted to go, and it was clear that the insulation needed some work. After doing some research on Expedition Portal and TacomaWorld, I ended up purchasing three 2020 Ram 1500 tailgate bed rugs. These were quite large and were way more economical than purchasing a full bed rug kit for the Tacoma, which would have been about $400. The tailgate bed rugs were only about $50 each and were enough to cover both gull-wing doors and the rear door.
I cut the bed rug to size with an Xacto knife and secured it to the inside of the doors with adhesive-backed Velcro. All in all, I used about 40 ft of Velcro.
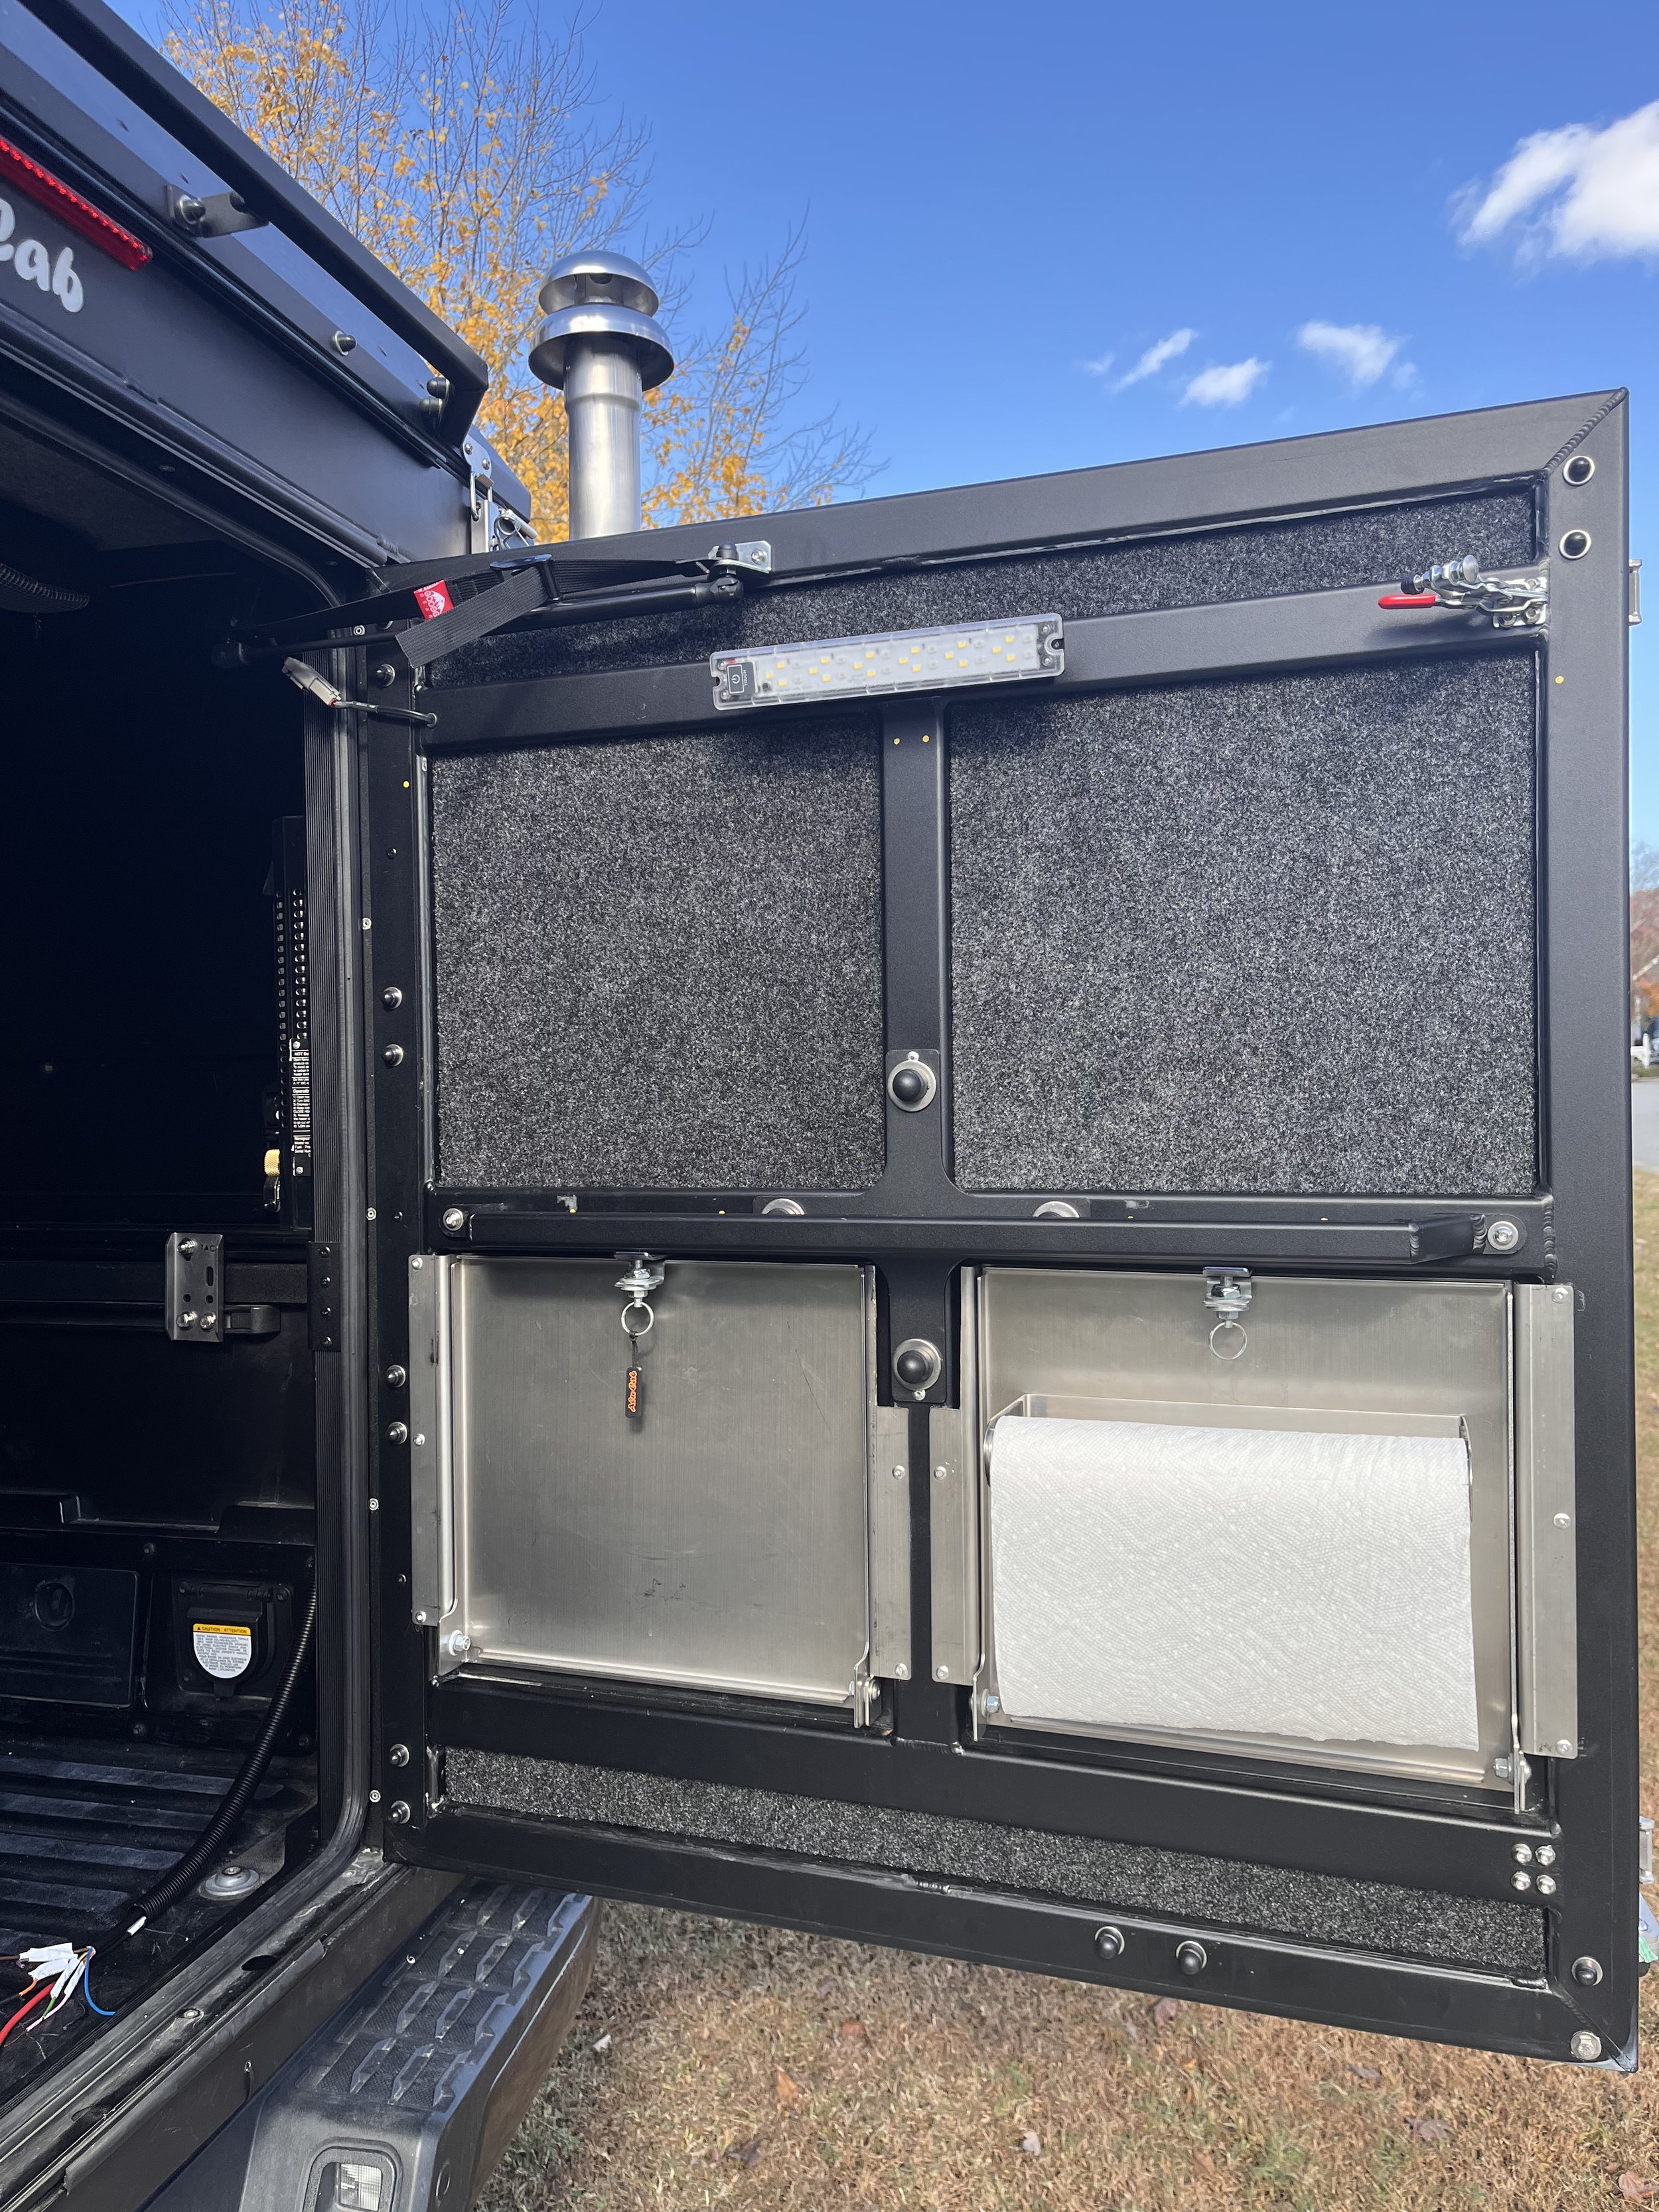
A shot of the rear Canopy Camper door with the bed rug cut to fill the voids. The top sections would later be covered by the GP Factor MOLLE plates. Featuring HudsonZRoamer’s GP Factor Tables that were installed using more rivets. These were the old tables, which required some modification to make room for the spare tire carrier bracket. The new models do not require this modification.
Our first trip after installing the insulation was to Colorado Springs, Colorado. A few nights, while the truck was parked outside in front of my in-laws’ house, it got cold. I noticed that the velcro began to lift. Specifically, the foam-backed insulation was not sticking to the adhesive velcro. I’ll likely need to find another solution to mount the insulation more permanently.
Tips, Tricks, and Resources
Insulation Inspiration: https://www.tacomaworld.com/threads/lets-see-those-alu-cab-setups.560930/page-8#post-25090193
Parts List
3-inch Memory Foam Mattress (Queen)
Electric Carving Knife
RAM 1500 Tailgate Bed Rugs x3
40ft Adhesive-Backed Velcro
Carbon Monoxide Detector
Xacto Knife